I have started working on a scene based on an underground train station (Haven't yet decided if it's british, european or metro)
It's primarily a self set task for composition and texturing but also incorporating lighting as a learning task and staying completely away from final gather and lighting from scratch without cheats. Because it will eventually be rendered out as a still, I have the freedom to increase the quality of the textures, models, shaders and lights for the final output without having to worry about massive rendering times for a whole film.
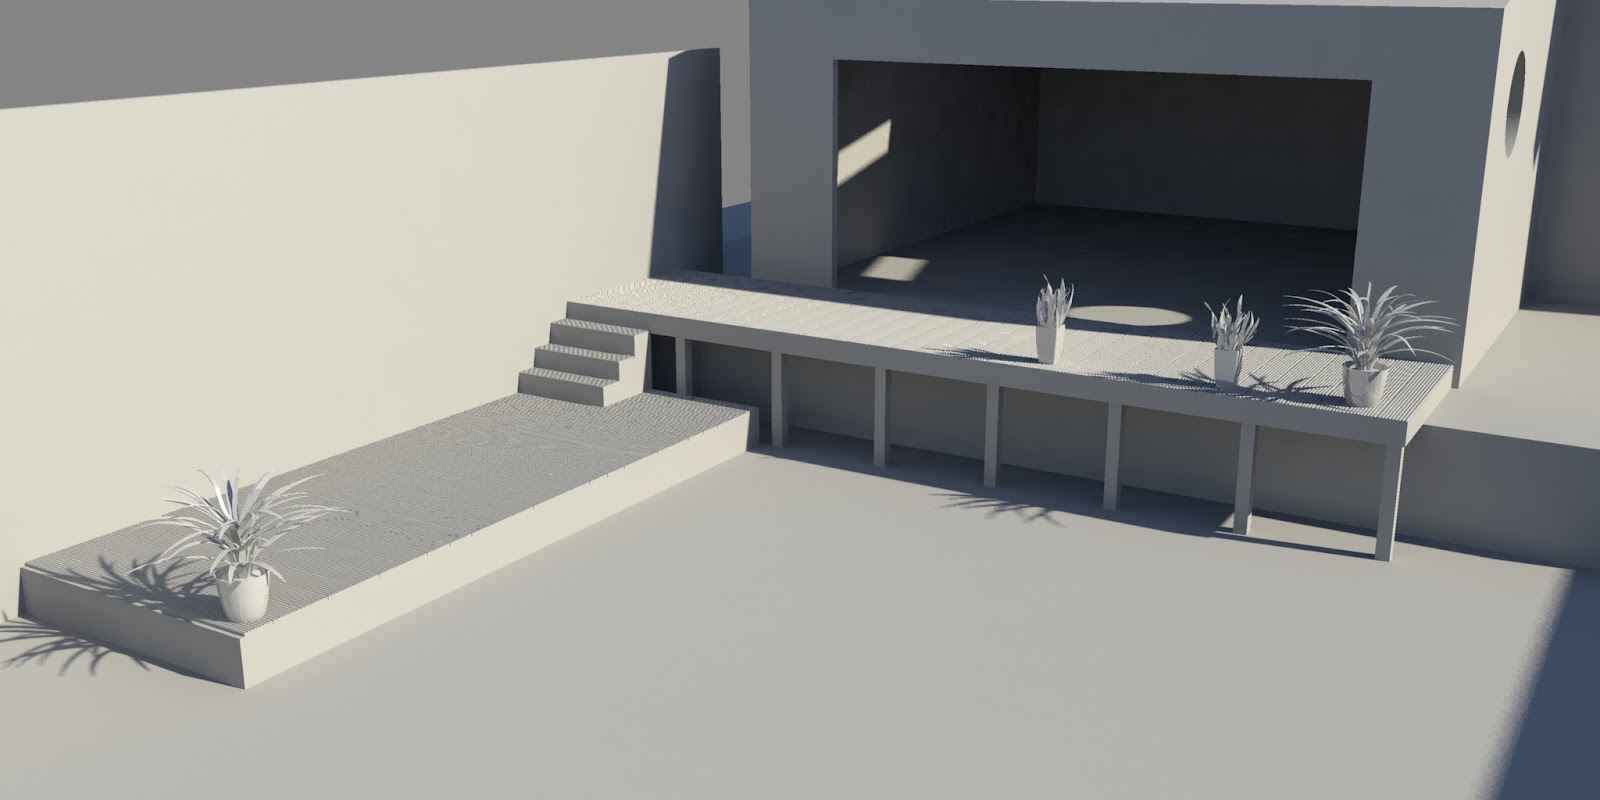
I have put together a concept in maya, using 4 lights so far (I can see this sky rocketing if I'm not careful).
The idea behind the lighting is the warm yellow is coming from the surface and the cool blue from the underground area. The colours themselves compliment each other being opposite on the colour wheel.
During my 3rd year project I very briefly used light linking, a powerful tool to choose what objects receive light. I plan to use this more often to get things how I want them. In this example I used it for creating rim spotlights pointed at the post.
Quick note: The geometry is purely for blocking out. This will be redone